Tetra IoT
Internet of Things Integrations
The Tetra Internet of Things (IoT) Agent is TetraScience's hardware component in the data collection process. It has network connectivity and industry-standard communication ports to establish connections with sensors and instruments. Its job is to collect data and send it to the Tetra Data Platform (TDP). The Tetra IoT Agent allows sensors and instruments with no network connectivity options to be connected to the "cloud."
TetraScience provides Tetra IoT Agents to your organization prior to installation. You need to configure your Tetra IoT Agent (which is a hardware box) to have the correct user organization and driver information, and then integrate this agent into the TDP.
Supported sensors and instruments
You will see the supported instruments when you set up a data source for the IoT integration. For sensors or instruments that are not in the dropdown list, please consult with TetraScience about instrument compatibility.
Before you proceed
The IoT agent configuration must be completed before the agent can be integrated in the Tetra Data Platform. See Setting Up and Configuring the Tetra IoT Agent for a step-by-step guide. Complete these steps before you begin the data collection process.
Who can create and edit IoT integrations
Only administrative users in your organization can create and edit IoT integrations.
Viewing Existing Tetra IoT Integrations
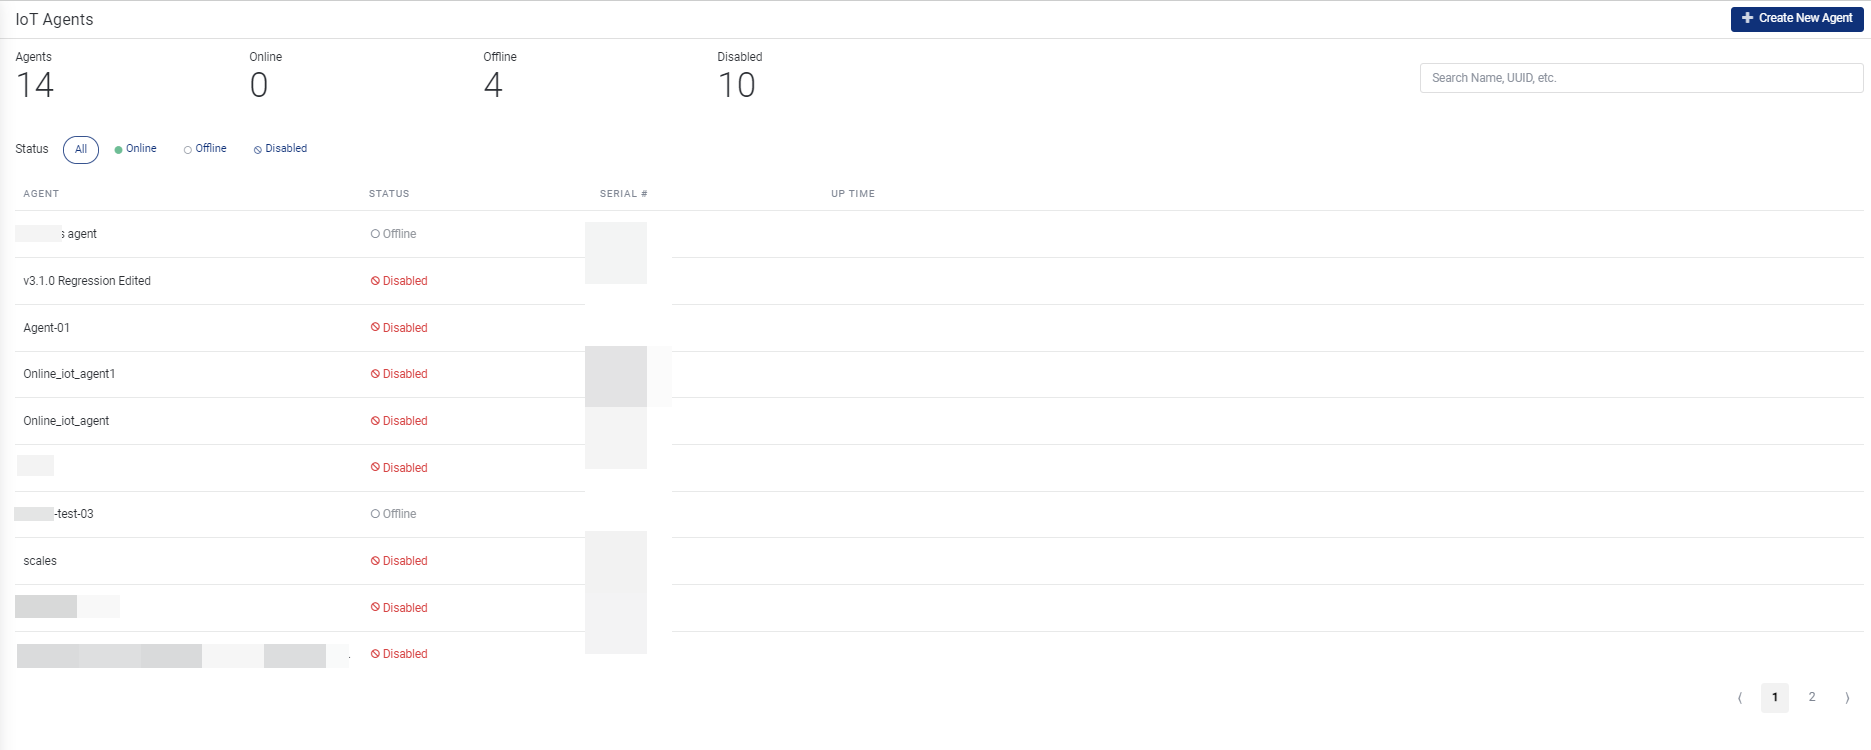
Tetra IoT Integrations appear in the IoT Agents screen. Here is how to view that screen and see which Tetra IoT Agents are already configured in your organization.
- Log into an account that has admin privileges.
- Select Data Sources > IoT from the hamburger menu. The IoT Agent Screen appears.

IoT Agents
The screen shows:
- IoT Agent Summary statistics, including the number of Agent configurations available and how many are online, offline, or disabled.
- Status filters that allow you to view all of the IoT Agents, or only those that are online, offline, or disabled.
- A Search bar that allows you to search for an agent by name.
- A list of IoT Agent configurations set up in your organization's TDP.
Viewing a Detailed Summary of an IoT Agent Configuration
To view a detailed summary of IoT Agent configuration information about an agent, click on the name. A popup screen appears that shows the:
- Customer device name
- Instrument device vendor and type,
- Device model, driver, and driver version
- MAC address
- Agent and Device descriptions
- Labels, metadata, and tags (if any)

IoT Details
Enabling and Disabling Agents
You can enable agents (make them active so that they can collect information from the instrument), or disable agents (make them inactive) from the IoT Agents screen. To do this:
- In the IoT Agent screen, click the name of the agent you want to enable or disable.
- Click the More menu, that appears near the right side of the screen.
- Do one of the following:
- Select Enable Agent to enable the agent.
- Select Disable Agent to disable it.
Viewing the Configuration File
If you'd like to see the raw configuration information that is sent to the Tetra IoT Agent, view the configuration file.
There are three ways to view the IoT Agent's Configuration file.
- In the IoT Agents screen, click the name of the IoT Agent you want to see the configuration for, then select the Configuration File button that appears on the right side of the screen.

Config File Button
- In the Create IoT Agent screen, after you configure a new Tetra IoT Integration, scroll to the bottom of the screen and click the View Config File link. See Configuring a New Tetra IoT Integration for more details.
- In the IoT Agents screen, click the name of the IoT Agent you want to see the configuration for, then click the edit icon to view Edit IoT Agent screen. Scroll to the bottom of the screen and click the View Config File link. See Editing a Tetra IoT Agent's configuration for more information.
Configuring a New Tetra IoT Integration
The steps to create an IoT integration are:
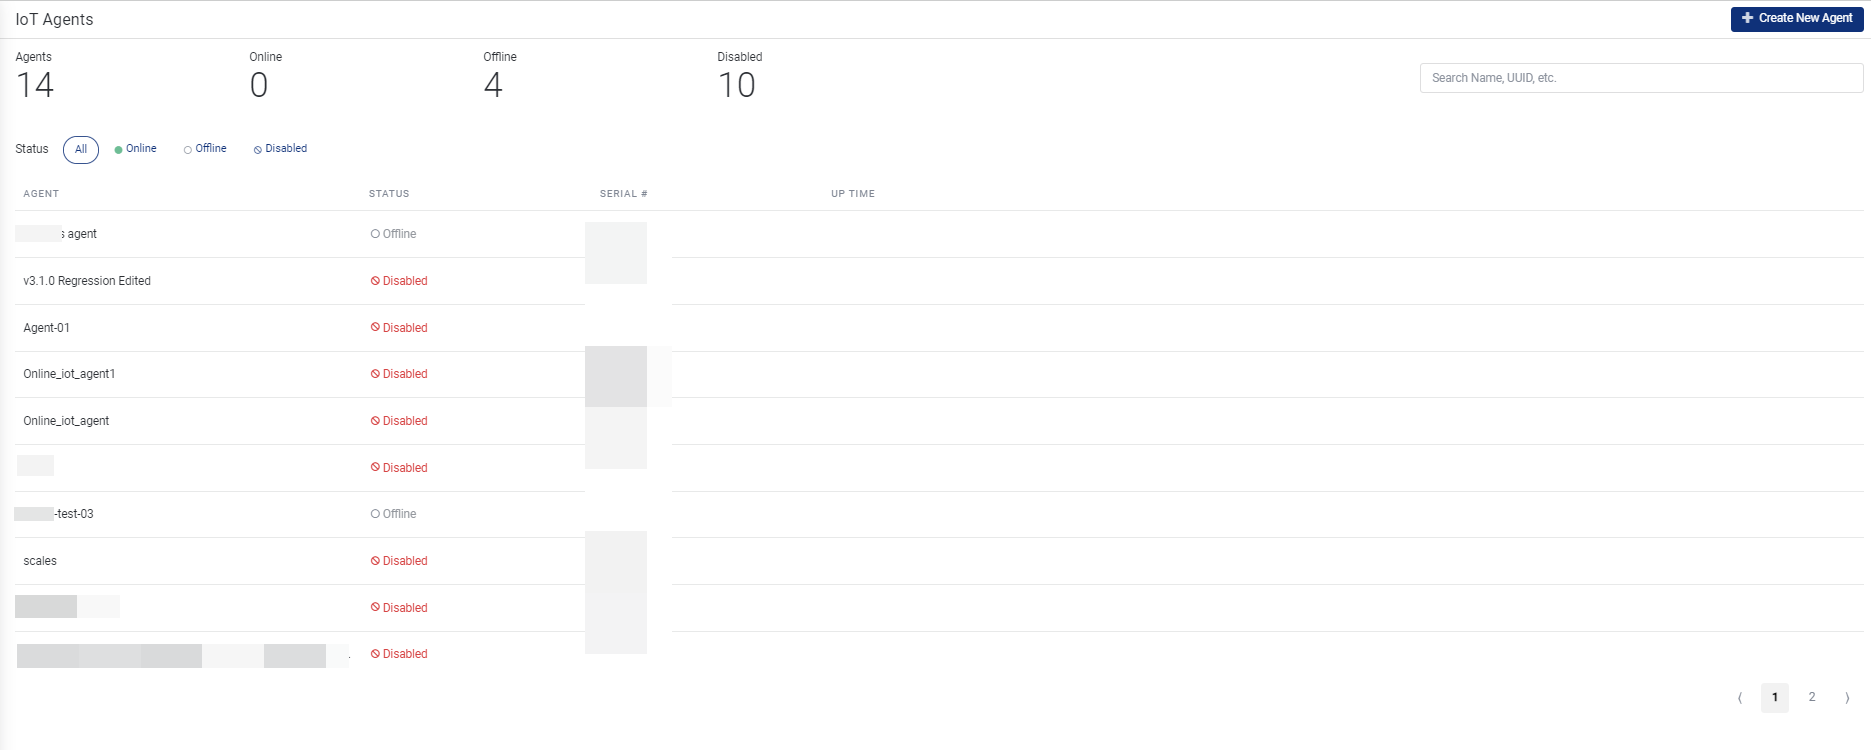
- In the IoT Agent's screen, click the + Create New Agent button, which is in the upper right corner of the screen.
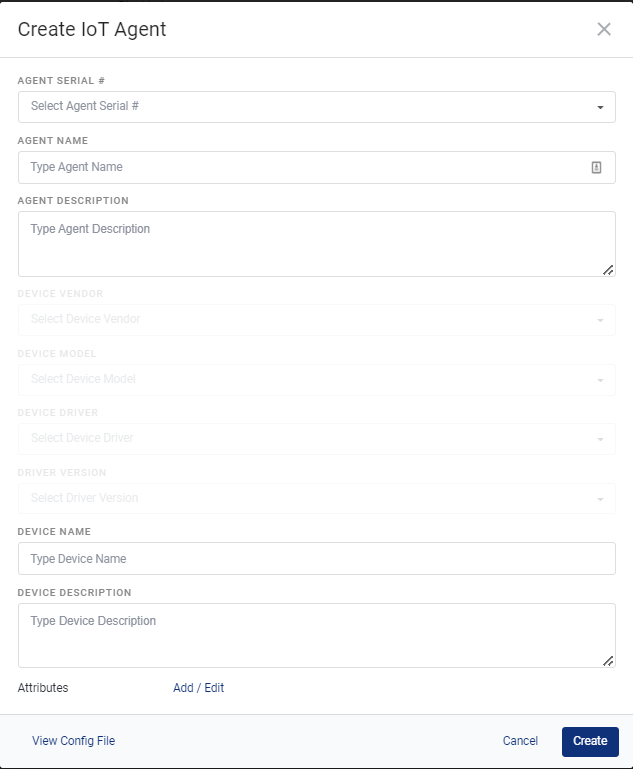
The Create IoT Agent screen appears.

Create New Agent Button in top right corner

Create IoT Agent
- Enter the information in the Create IoT Agent screen. All fields are required except for the Agent Description and Device Description.
| Field | Description |
|---|---|
| Agent Serial Number | Select the serial number from the list. |
| Agent Name | Name that you assign to the agent. Note that the name can only include letters, numbers, spaces, and the following symbols: +,-,/, . (period) or _ . |
| Agent Description | Information that you supply about the agent. For example, you might include information about how the agent will be used. This is an optional field. |
| Device Vendor | Name of the vendor who made the device that the IoT is attached to. Select from the list provided. |
| Device Model | Indicate the model of the device that the IoT Agent is connected to. Select from the list provided. |
| Device Drive | Select the device driver to use. |
| Driver Version | Enter the driver version to use. |
| Device Name | Enter the name that you are assigning to the device. Note that the name can only include letters, numbers, spaces, and the following symbols: +,-,/, . (period) or _ . |
| Device Description | Your description of the device. This is an optional field. |
- If needed, configure attributes (metadata, labels, or tags) for this data source. All files uploaded from this data source will automatically inherit the attributes as file attributes. See Applying Metadata, Tags, and Labels to Files for a step-by-step guide for creating different attributes.
- Click Create to create the IoT Agent.
- The IoT Agent's screen reappears with the agent you just created. You should see the agent that you created, along with a status. If the IoT agent is configured correctly, you should see the status of this integration as "Online".
Editing a Tetra IoT Agent Configuration
To edit an IoT Agent Configuration, do the following.
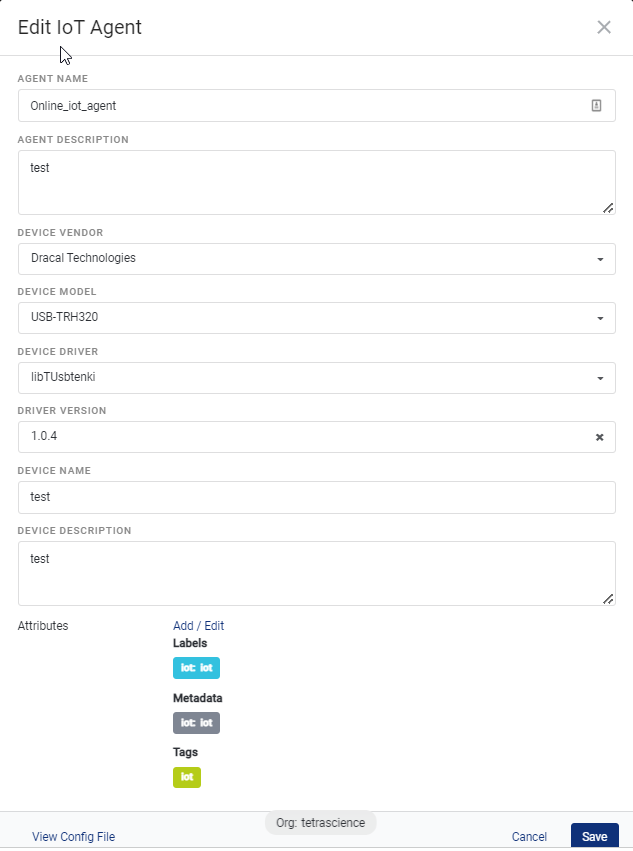
- In the IoT Agents screen, click the name of the IoT Agent you want edit, then click the edit icon on the right side of the page. The Edit IoT Agent screen appears.

Edit Icon

Edit IoT Agent
- Edit the information as needed.
- When finished, click Save.
Updated over 1 year ago
