IE PRO 200: Tutorial - Tetra IoT Agent Network Configuration
How to configure the Tetra IoT Agent's network
This tutorial explains how to configure the Tetra IoT Agent's network. Two network options are available:
- Ethernet network configuration
- Wi-Fi network configuration
Do Not Change SettingsPlease do not change any settings not specified in this tutorial. If you change other settings, then TetraScience cannot guarantee that the Tetra IoT Agent's functionality will be the same.
Review Available Ports on the Tetra IoT AgentBefore you begin, review all of the available ports on the Tetra IoT Agent. For details, see the Connection Ports section in the technical specifications.
Ethernet Network Configuration
By default, each Tetra IoT Agent uses DHCP on WAN. This means you need only to connect the WAN port to the open Internet and it will determine the rest of the configuration settings.
To configure the Tetra IoT Agent using the Ethernet:
- Plug one end of an Ethernet cable to the WAN port on the Tetra IoT Agent, and then plug the other end to a terminal of your choice: wall jack, router, or switch.
- Once the Tetra IoT Agent is connected to the Internet, the NET LED light blinks.
Wi-Fi Network Configuration
To configure the Tetra IoT Agent using the Wi-Fi configuration, connect your computer with the Tetra IoT Agent and then configure the Tetra IoT Agent using the software GUI.
Configure Computer for Local AccessBefore you begin, you must configure your computer for local configuration access. For details, see the Local Configuration tutorial.
To configure the Tetra IoT Agent using Wi-Fi:
- Connect your computer with the Tetra IoT Agent's LAN port using an Ethernet cable.
- Open a browser window and enter: "192.168.101.204".
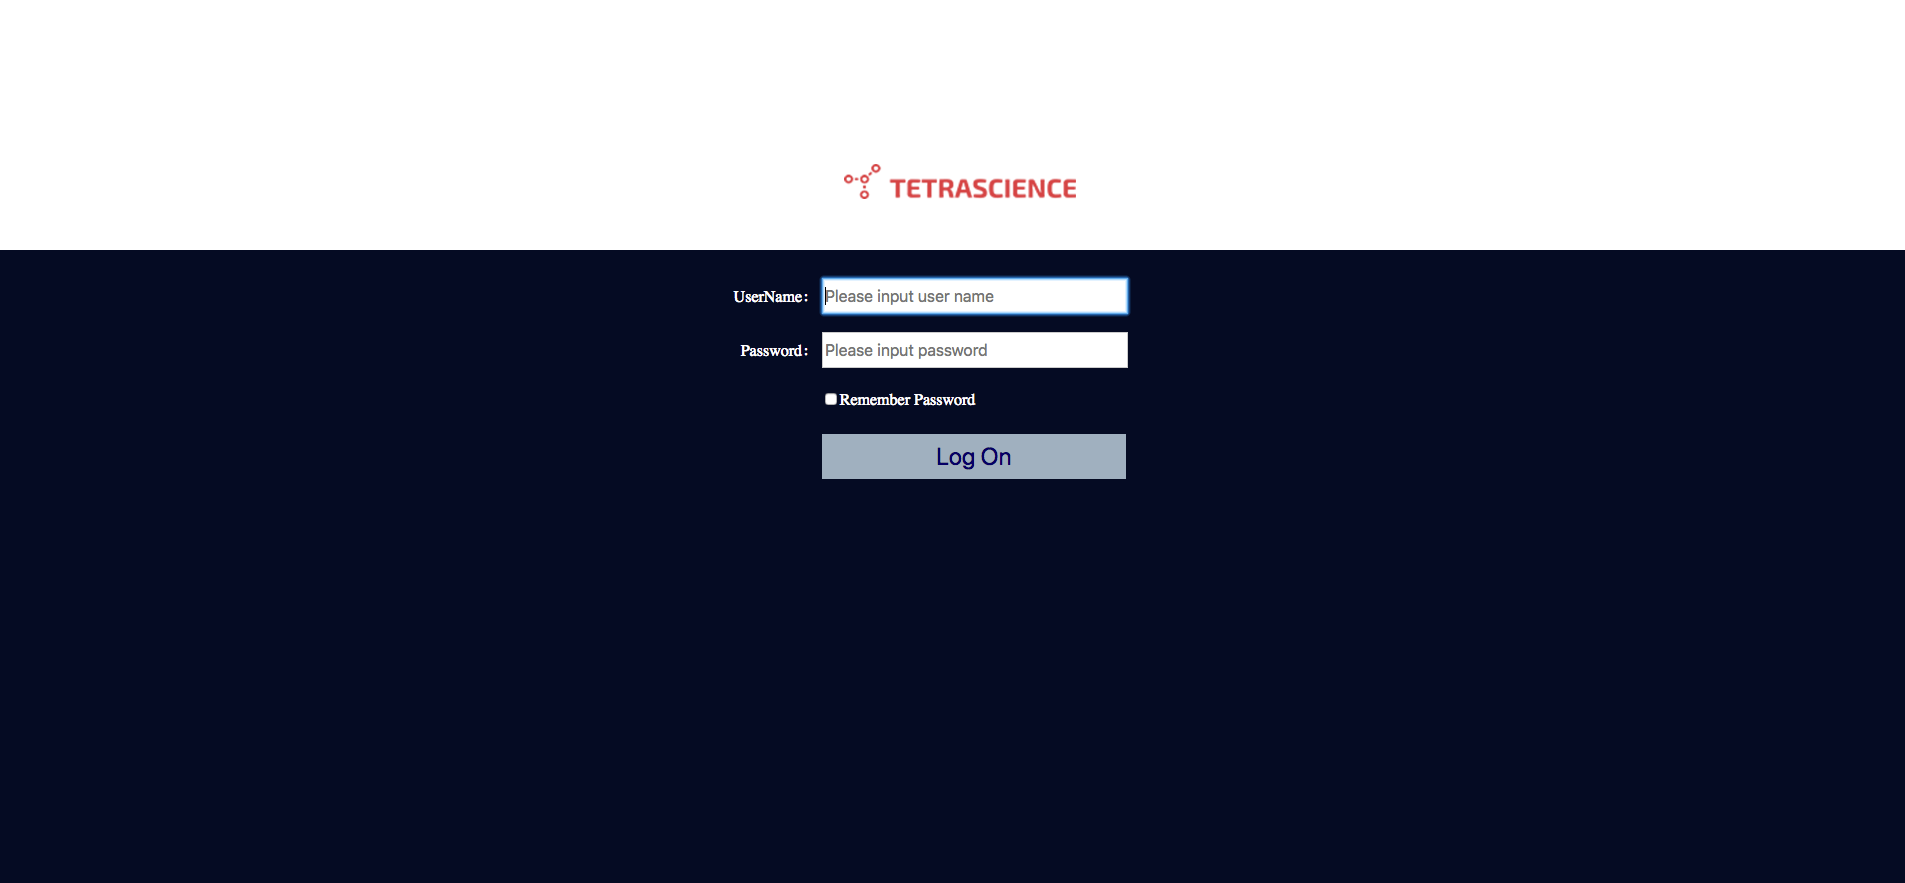
- You will be directed to the login page. The default login credential is: username: admin, password: admin.

Login page
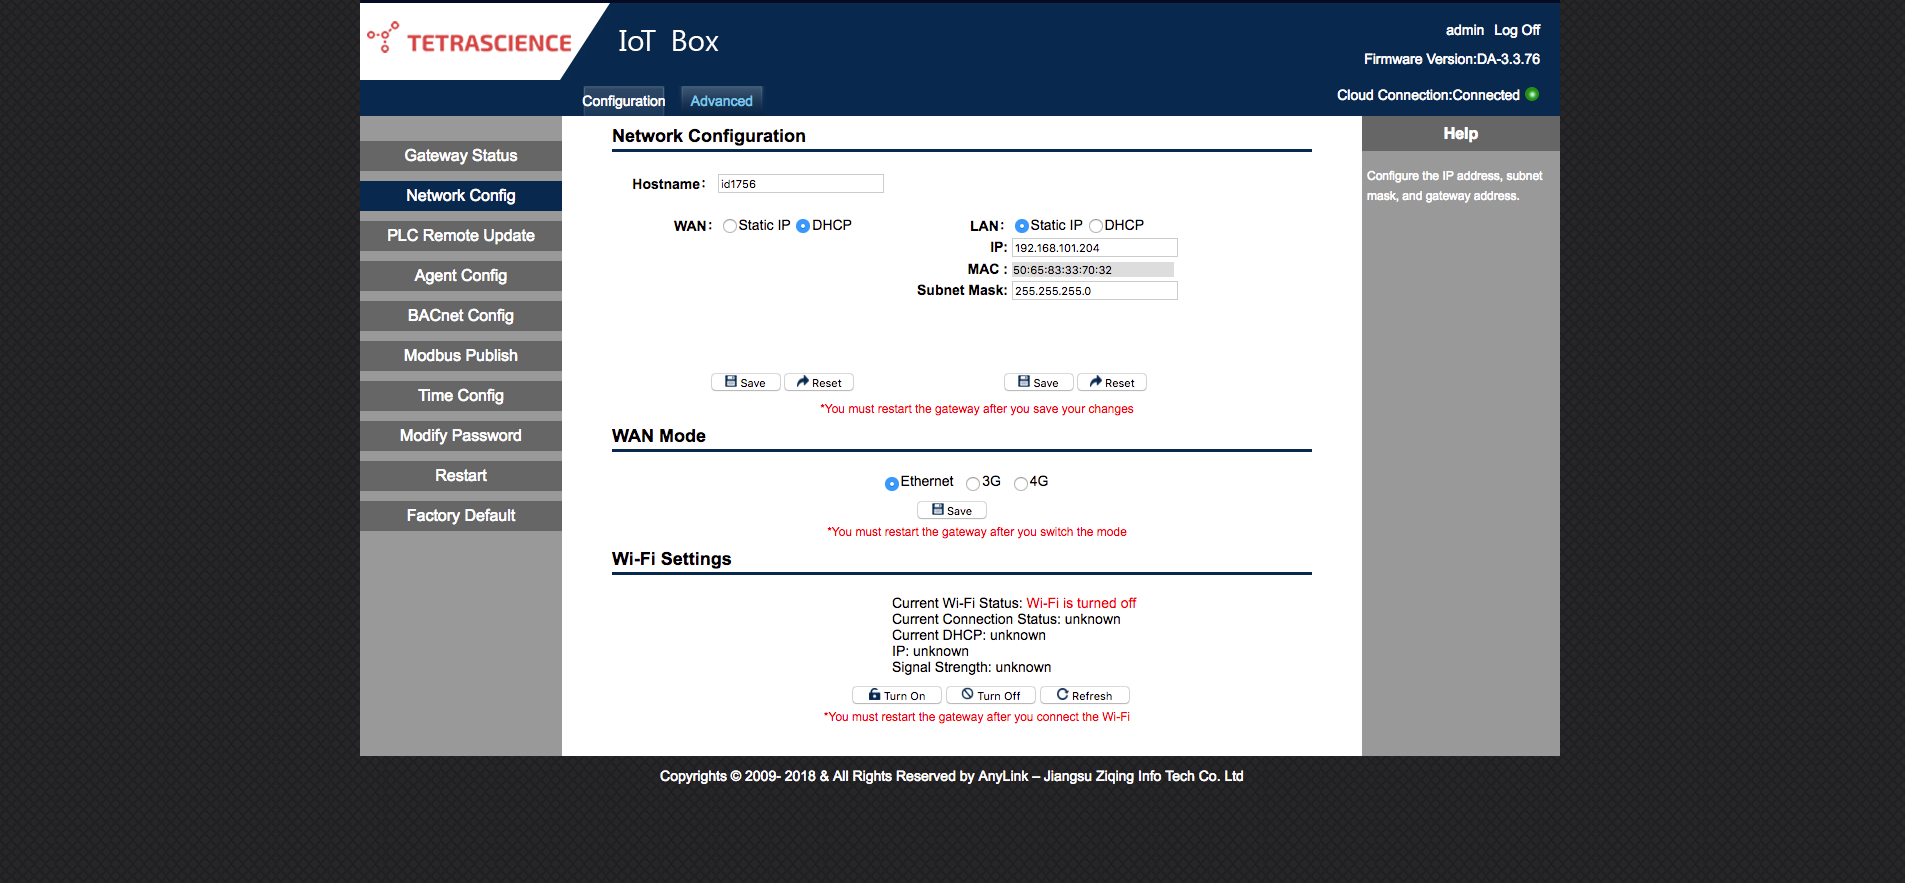
- Click the "Advanced" tab.
- Click the "Network Config" option on the left sidebar.
- If Wi-Fi is not turned on, then click "Turn on" in the Wi-Fi section.
- Once the Wi-Fi is turned on, select one from the available Wi-Fis detected by this Tetra IoT Agent.
- The Cloud Connection indicator on the upper right side of the page turns green, and the NET LED light blinks once the Tetra IoT Agent connects to the Internet.

Wi-Fi Settings
Switch Between the Ethernet and Wi-Fi Networking Options
Once Wi-Fi is turned on, you must reboot the Tetra IoT Agent to apply the configuration. The Tetra IoT Agent will not use the Ethernet connection even if the Wi-Fi disconnects while the Ethernet connection is available. To switch back to use Ethernet, you must turn off Wi-Fi manually.
Updated 3 months ago
