Legacy IDBS E-Workbook Connector Installation
To install or upgrade the Legacy Tetra IDBS E-Workbook Connector, do the following:
- Verify System Requirements
- Step 1: Create a Docker Volume
- Step 2: Download the Connector's Docker Image
- (For Upgrades Only) Step 3: Prepare for Migrating Existing Connector Configurations
- Step 4: Create the Docker Container
- Step 5: Start the Container
- (For Upgrades Only) Step 6: Clean Up the Migration
NOTETo set or change the proxy environment variables for an existing container image v1.4.0 or higher, do the following:
- Delete the existing Docker container.
- Recreate the Docker container by using your previous container image and the appropriate proxy environment variables. For instructions, see Additional Container Options.
- Start the new container.
System Requirements
For the Legacy Tetra IDBS E-Workbook Connector to function properly, the host machine must meet the following requirements:
- Linux OS
- Docker installed
- Outbound network access to the Tetra Data Platform (TDP) and to IDBS
- Allows sufficient inbound network access for IDBS users to be able to open the Connector in their web browser
Host Connector on a Tetra Hub or Data HubMany of the requirements above are automatically fulfilled by hosting the connector on an existing Tetra Hub or Tetra Data Hub. If you already have a Tetra Hub or Data Hub, you can install the IDBS Connector there. However, it is not required to use a Hub or Data Hub with the Legacy Tetra IDBS E-Workbook Connector.
Use Privileged Shell for CLI CommandsAll of the commands in this procedure should be run in a privileged shell.
macOS: If you are using an Administrator account, no additional action is required.
Linux: Run
sudo su -to get a root login shell in which to run the commands.
Step 1: Create a Docker Volume
Although optional, we recommend using a Docker volume to store the SQLite databases so that configuration is automatically preserved during Connector upgrades.
If Upgrading instead of Fresh InstallIf you are upgrading the Connector, or for some reason your intended Docker volume already exists, skip to Step 2: Download the Docker Image.
To create a volume, run the following shell command:
docker volume create --driver local idbs_connector_configWhen you create the Docker volume, keep in mind the following:
- This action creates a Docker volume called
idbs_connector_config, which is typically located at/var/lib/docker/volumes/idbs_connector_configin a standard Docker installation on Linux. - When you create the container, make sure that you map this volume to
/app/configwithin the container. - The Connector uses this folder to store configuration, state, and logs in SQLite database files.
Step 2: Download the Connector's Docker Image
Download the latest version of the Legacy Tetra IDBS E-Workbook Connector as a Docker image by doing the following:
- On the host server, go to the IDBS E-Workbook Connector section of the Tetra Agent & Connector Installers page in the TetraConnect Hub. For access, see Access the TetraConnect Hub.
- Select the Latest installer
.tarfile (for example,ts-idbs-connectorvx.x.x.tar.gz) and download it to the host server. - Unzip the tarfile by running the following shell command in the local command line terminal:
gzip -d ts-idbs-connector-v1.4.0.tar.gz- Extract the Docker image from the tarfile by running the following command:
docker load --input ts-idbs-connector-v1.4.0.tar- Verify that the image was extracted successfully by confirming that the
IDBS Connectorappears in Docker's list of local images. To return a list of local Docker images, run the following shell command:
docker image ls -a(For Upgrades Only) Step 3: Prepare for Migrating Existing Connector Configurations
NOTEFor new installations, skip to Step 4: Create the Docker Container.
To migrate an existing Connector's configurations to the latest Connector version, do the following:
- Create an export of your Connector’s existing configuration. This export will remove sensitive fields such as
SSO Client Secret,SSL CertificateandKey,TDP Service User Token, andAgent ID. All DataWeave scripts are preserved for future import.
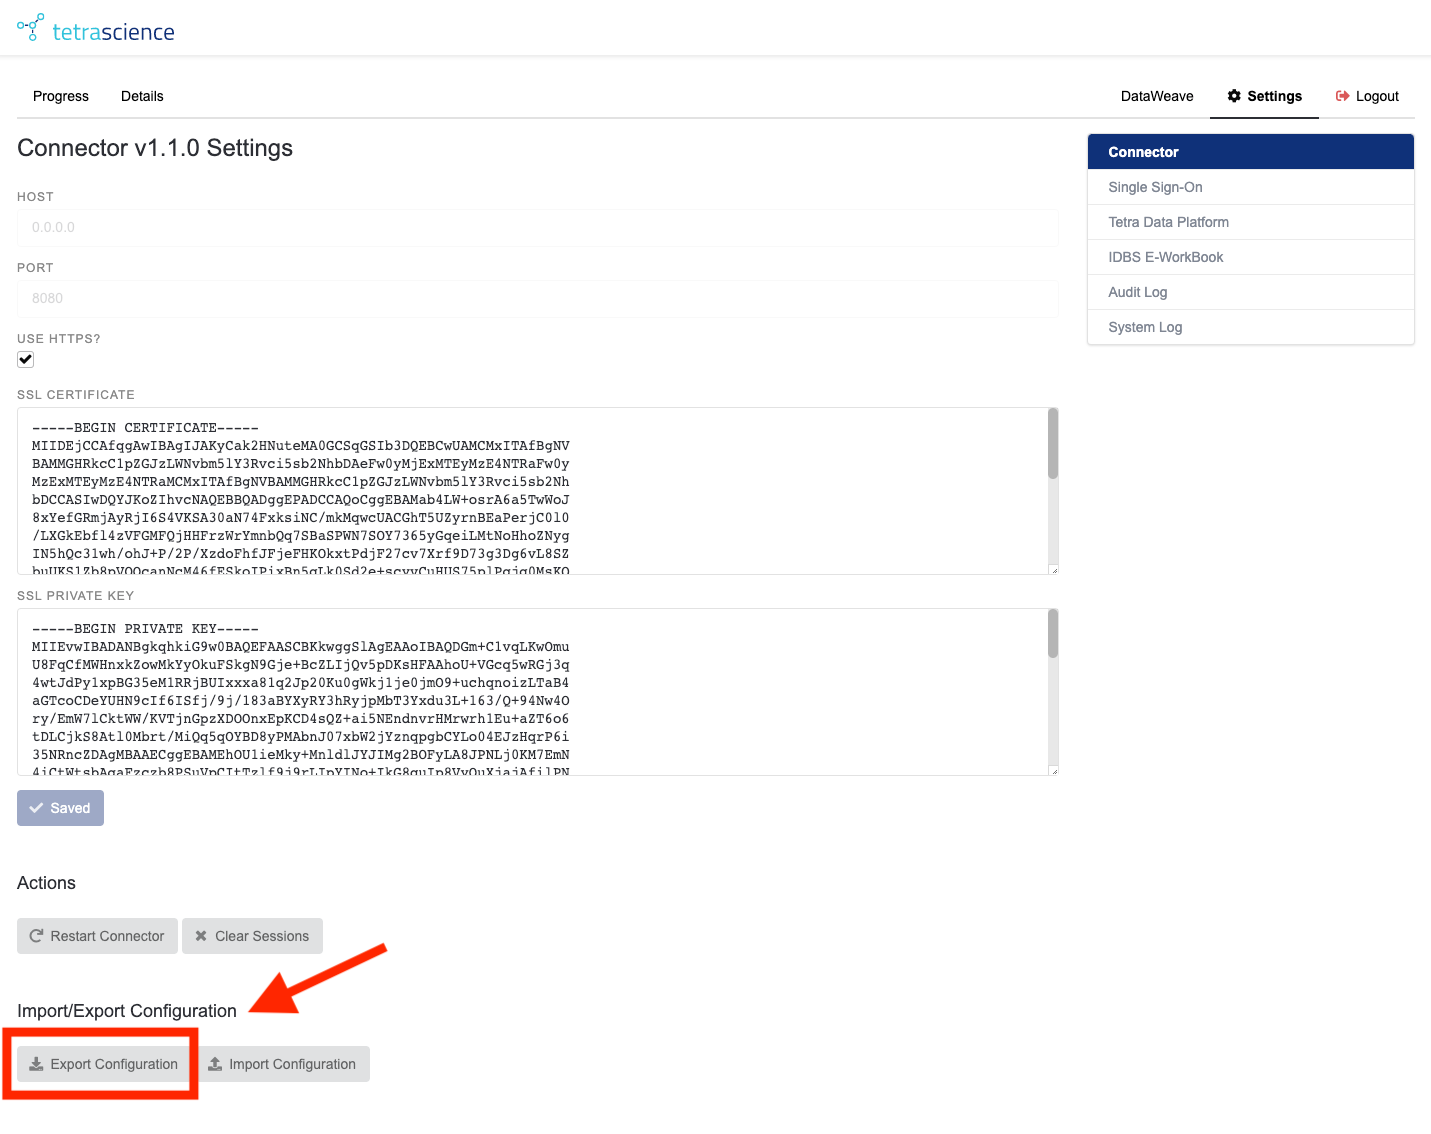
Figure 2. Connector Settings
- Make a copy of your existing Docker Volume, or at minimum, make a copy of the database file
config.db. - In the next section you will be creating a new container with the new Connector version. If you have an existing Connector running, you must stop that container. Find the name and container ID of the running containers by running the following shell command:
docker container ls -a- Stop the container by running the following command:
docker container stop <container name or container ID>docker stop idbs-connector- Rename the container that you have just stopped. This will prevent any issues that can be caused by duplicate naming when deploying the new Connector. To rename the container, run the following command:
docker rename <container name or container ID> <new name>docker rename idbs-connector idbs-connector-rollbackStep 4: Create the Docker Container
Create the Docker container by running the following shell command:
docker create -p 3003:8080 --name=idbs_connector \
--memory=2g --restart unless-stopped -v idbs_connector_config:/app/config idbs-connector:v1.4.0
NOTEThe shell command to create the Docker container uses the following arguments:
-p 3003:8080: Forward traffic incoming on port3003on the host to port8080in the container--name=idbs_connector: Give the container the specific nameidbs_connector--restart unless-stopped: Sets a restart policy for the container. Prior to Legacy Tetra IDBS E-Workbook Connector v1.3.0, connector restarts in the event of crashes were handled by software within the container. The chosen policy will restart the connector whenever it goes down, unless it has stopped because a container stop was explicitly requested-v idbs_connector_config:/app/config: Map/app/configin the container to use the Docker volumeidbs_connector_configthat was set up in a previous stepidbs-connector:v1.4.0: This is the image to base the container on (your version number may differ)
Container Memory LimitThe command above includes a memory limit of 2GiB for the container. The intent of the memory limit is to avoid the connector causing out-of-memory behavior for the whole datahub and possibly impacting other Connectors. Depending on the memory available and what other Connectors you are using, you can increase this limit to 4GiB, or potentially remove it altogether.
Additional Container Options
For Connector version v1.4.0 and higher, you also have the option to activate the following features when you create the Connector's Docker container by specifying some environment variables in the docker create shell command:
- To configure the Connector to use an HTTPS or HTTP proxy, add the proxy's IP address and port number to the
docker createshell command as an environment variable by using the following format:--env http_proxy=http://192.168.32.32:3128 --env https_proxy=http://192.168.32.32:3128 - If the Connector uses a proxy, but your IDBS instance doesn't require proxy access, you can set an exception to bypass the proxy for your IDBS hostname. To bypass the proxy for your IDBS hostname, add the additional environment variable to the
docker createshell command, along with the other variables, by using the following format:
--env no_proxy=integrations.idbs-cloud.com:8443 - For Connector version v1.4.0 and higher, the Connector no longer defaults to ignoring TLS certificate verification. This change in behavior can result in the Connector rejecting communication to the TDP or IDBS if it doesn't trust the certificate. (Warning messages might look like "Unexpected error contacting TDP: unable to verify the first certificate".) If needed, you can restore the legacy default TLS certificate behavior by adding the following environment variable to the
docker createshell command:--env NODE_TLS_REJECT_UNAUTHORIZED=0(You can also add specific certificate chains to the container's store.)
Adding TLS Certificates to a Connector ContainerIf you want the Connector to verify certificates and also have a custom certificate, do the following:
- Copy the
.pemfile for the certificate chain to the configuration volume configured in Step 1. For the next step, we'll assume the file is calledcert.pem.- On the host for the container, run the following command (assuming the Connector name was chosen as
idbs_connector):docker exec -it idbs_connector -c "cat /app/config/cert.pem >> /etc/ssl/certs/ca-certificates.crt"
Step 5: Start the Container
Start the Docker container you created by doing the following:
- To start the container, run the following shell command:
docker start idbs_connector
NOTEThe Connector may take up to 15 seconds to become available once the container is started.
- (For new installations only) In a web browser, go to
http://<hostname>:3003/(or, if you previously configured the Connector to use SSL, thenhttps://<hostname>:3003/). Then, set up the initial configuration.<hostname>islocalhostfor local development or local access from the server.
(For Upgrades Only) Step 6: Clean Up the Migration
NOTEYou can skip this step if you didn't upgrade or perform a Connector migration.
If the upgrade or migration went as expected, and you have confirmed all configuration and scripts persisted, delete the old connector’s Container by running the following shell command:
docker rm <container name or container ID>docker rm idbs-connector-rollbackDocumentation Feedback
Do you have questions about our documentation or suggestions for how we can improve it? Start a discussion in TetraConnect Hub. For access, see Access the TetraConnect Hub.
NOTEFeedback isn't part of the official TetraScience product documentation. TetraScience doesn't warrant or make any guarantees about the feedback provided, including its accuracy, relevance, or reliability. All feedback is subject to the terms set forth in the TetraConnect Hub Community Guidelines.
Updated 2 months ago