Create and Manage Organizations
IMPORTANTThe following procedures apply to customer hosted Tetra Data Platform (TDP) deployments only. To create and manage organizations in a Tetra hosted TDP deployment, you must contact your customer success manager (CSM).
When using the ts-admin role in a customer hosted TDP deployment, you can use the Manage Organizations page to do any of the following:
- Create a new organization
- Search for a specific organization
- Switch between organizations
- Make sure that your organization can communicate with AWS
IMPORTANTDo not use the Create Tenant action on the Manage Organizations page without consulting your customer success manager (CSM) first. The TetraScience team will help you create a new tenant with the correct configurations if needed.
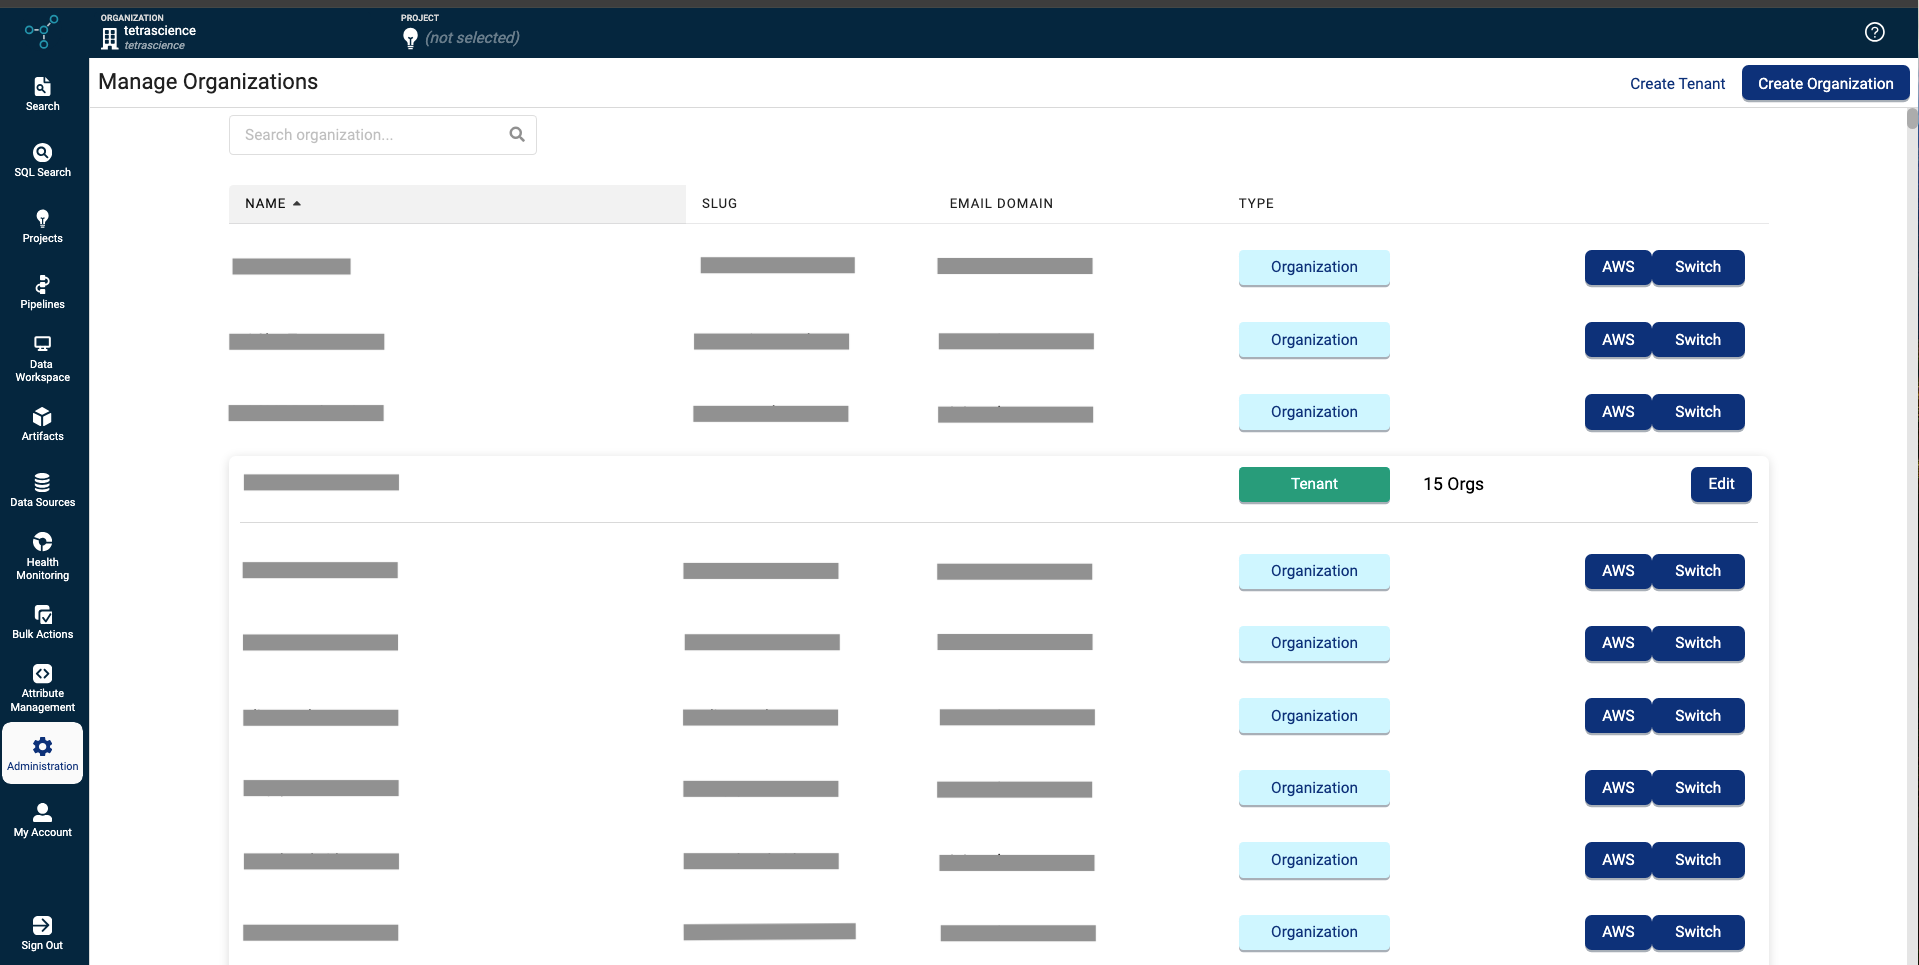
Access the Manage Organizations Page
To view the Manage Organizations page, do the following:
- Sign in to the TDP with a ts-admin role.
- In the left navigation menu, choose Administration.
- Choose Manage Organizations. The Manage Organizations page appears.
Create a New Organization
NOTEPassword policies for each organization must be configured at the tenant level on the Tenant Settings page. For instructions, see Set Password Policies.
To create a new organization, do the following:
- Open the Manage Organizations page as a user with a ts-admin role.
- Choose Create Organization. The Create Organization dialog appears.
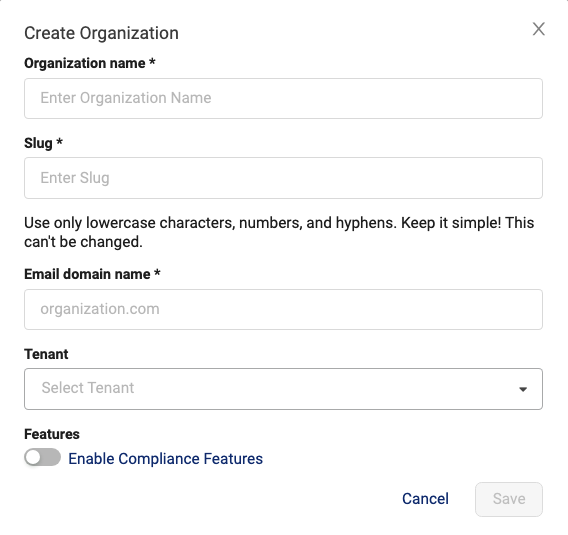
- For Organization name, enter a name for the org.
- For Slug, enter a short orgslug value. Use lowercase characters, numbers, and hyphens only.
- For Email domain name, enter the email domain name that you want the org to have. Use lowercase characters, numbers, and hyphens only.
IMPORTANTYou can't change an organization's slug or email domain after it's created.
- (Optional) To activate compliance features for the new organization, move the Enable Compliance Features toggle to the right. For more information, see Set Compliance Settings for Your Organizations.
- Choose Save.
NOTEBased on your specific AWS or network setup, creating a new organization may not be successful because of proxy or firewall restrictions. As a result, you may see various issues when uploading files, such as KMS errors, missing Data Hub policies, and more. To verify that your organization can communicate with AWS, see Make Sure that Your Organization Can Communicate with AWS.
Search for a Specific Organization
To search for a specific organization, do the following:
- Open the Manage Organizations page as a user with a ts-admin role.
- Enter the organization's name in the upper left search box. Organizations that match your search criteria appear.
Switch Between Organizations
To switch between organizations, do the following:
- Open the Manage Organizations page as a user with a ts-admin role.
- In the list of organizations, find the organization that you want to switch to. Then, select the far right Switch button in that organization's row. The selected organization becomes active (indicated by a gray Current label and by the current organization name label displayed at the bottom of the page). The previous organization becomes inactive.
NOTETo set your default organization, see Account Details.
Make Sure That Your Organization Can Communicate with AWS
To make sure that each organization you create is able to communicate with AWS through the TetraScience API, do the following:
- Open the Manage Organizations page as a user with a ts-admin role.
- In the list of organizations, find the organization that you want to confirm can connect with AWS.
- On the right side of the organization's row, select the AWS button. A Success! message displays indicating communication has been established.
- Choose Dismiss.
AWS KMS Key Rotation
NOTEStarting in TDP v3.6.0, all new AWS Key Management Service (AWS KMS) keys automatically rotate their key material every year (approximately 365 days from their creation). For existing AWS KMS keys that were created before TDP v3.6.0, customers must activate automatic key rotation manually in the TDP. For more information, see Rotating AWS KMS keys in the AWS Documentation.
Activate AWS KMS Key Rotation for Keys Created Before TDP v3.6.0
To manually activate automatic key rotation for an AWS KMS key created before TDP v3.6.0, follow the instructions in Make Sure That Your Organization Can Communicate with AWS. When you select the AWS button, a Success! message displays indicating that automatic key rotation is now activated for the organization’s associated AWS KMS key.
Documentation Feedback
Do you have questions about our documentation or suggestions for how we can improve it? Start a discussion in TetraConnect Hub. For access, see Access the TetraConnect Hub.
NOTEFeedback isn't part of the official TetraScience product documentation. TetraScience doesn't warrant or make any guarantees about the feedback provided, including its accuracy, relevance, or reliability. All feedback is subject to the terms set forth in the TetraConnect Hub Community Guidelines.
Updated 2 months ago