Visual Pipeline Builder
Visual Pipeline Builder can help you create Tetra Data Pipelines with drag-and-drop simplicity. You can use it to quickly connect lab systems, add data transformations, and route results where you need them—all through a visual interface that requires no programming knowledge.
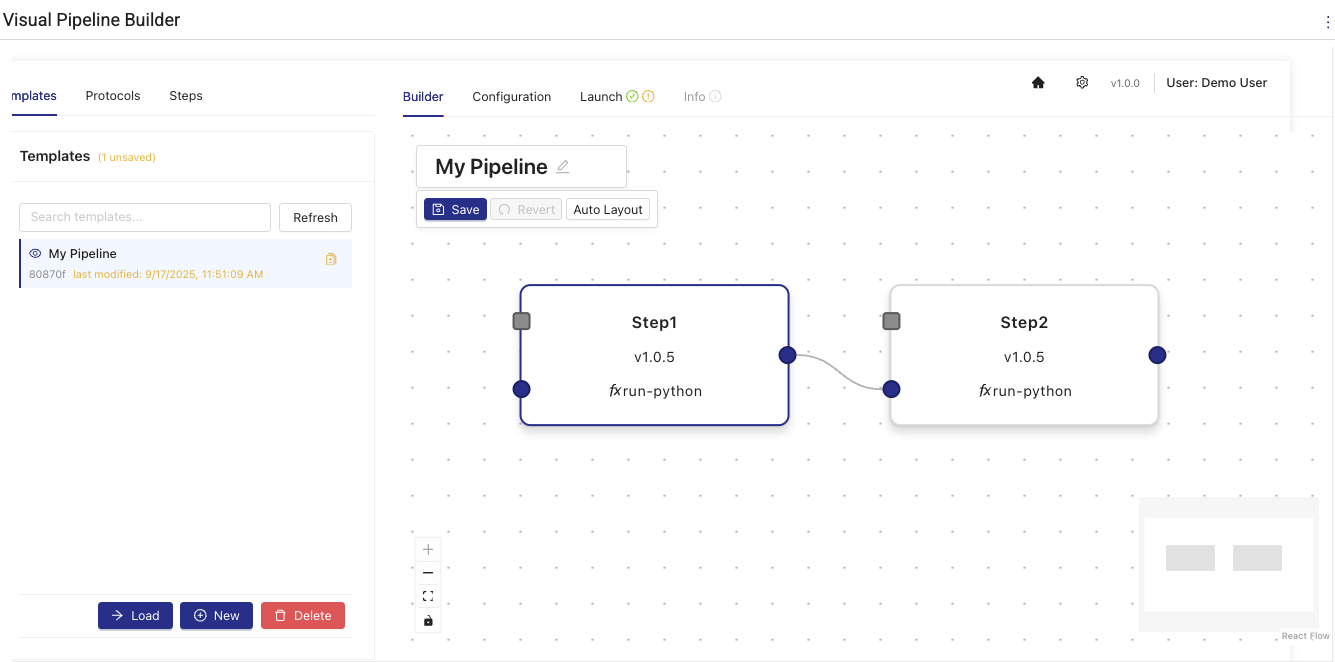
Visual Pipeline Builder
Capabilities
- Create new Tetra Data Pipelines or edit existing pipelines by using a library of validated parsers, data integrations, and other available functions.
- Edit and modify pipeline steps and configurations without manually manipulating the pipeline's code.
- Deploy new and updated pipelines to the Tetra Data Platform (TDP) directly from the app's user interface.
- Use Artificial Intelligence to build new pipelines from existing TetraScience components.
Prerequisites
Visual Pipeline Builder requires the following:
- TDP v4.2.0 or higher (v4.3.1 or higher is recommended)
- Amazon Bedrock Access: Contact your customer account leader to obtain access. For more information about Amazon Bedrock, see the Amazon Bedrock User Guide.
- Customers must contact their customer account leader to activate the app in the TDP user interface
- App users must have the following TDP functionality permissions:
- Pipelines: Full Access
- Artifacts: Full Access
User Guides
For more information about how to use Visual Pipeline Builder, see the latest user guide:
Documentation Feedback
Do you have questions about our documentation or suggestions for how we can improve it? Start a discussion in TetraConnect Hub. For access, see Access the TetraConnect Hub.
NOTEFeedback isn't part of the official TetraScience product documentation. TetraScience doesn't warrant or make any guarantees about the feedback provided, including its accuracy, relevance, or reliability. All feedback is subject to the terms set forth in the TetraConnect Hub Community Guidelines.
Updated 2 months ago